
Learn how to properly clean seashells after a family beach vacation, so your precious souvenirs last for years instead of crumbling to bits on the car ride home.
Highlights:
- Step-by-step family-tested instructions for cleaning seashells
- Essential equipment to make seashell collecting easy for all members of the family
- How to identify live mollusks that need to be left on the beach
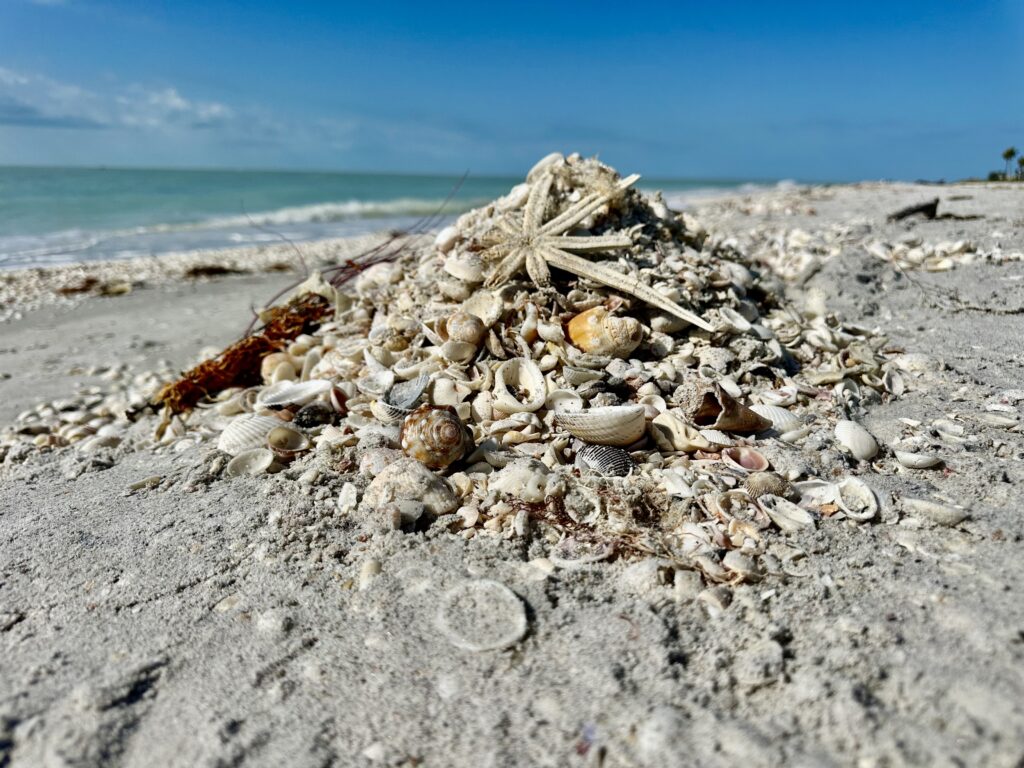
Finding seashells on a family beach vacation feels like discovering pirate treasure. Toddlers, grands and everyone in between can wander the shoreline with a bucket, hunting blue-gray quahogs or pastel-pink conchs. I still treasure memories of sharing our finds at dinner as the sun slipped into the sea.
But then what? We’ve left shells baking in the sun until they smelled like low tide, or crushed them in the car beneath coolers and chairs. It doesn’t have to end that way. With a simple cleaning and storage routine, your seaside treasures can last for years and shine on display at home.
Essential Equipment for Collecting Seashells
A family beach vacation is the highlight of many summers. Collecting pretty shells is one of the activities everyone can enjoy, including toddlers, teens and Grandpa.
Best of all, there’s no expensive equipment needed.
However, there are a few things you can have on hand to make shelling easier:
- Color-coded buckets for every member of your family are definitely something you should pack for your beach vacation. This will help you remember which shells are Suzy’s and which ones are Billy’s. Trust me. One person will find the BEST shell and everyone will fight over it.
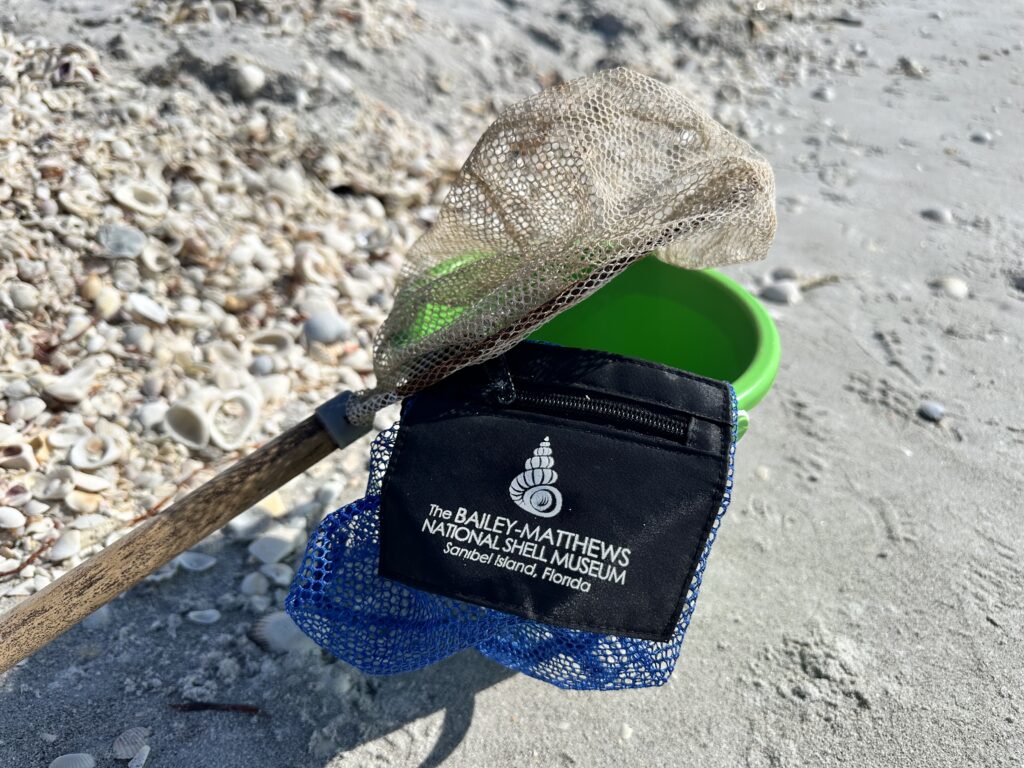
- A mesh bag is another option for collecting shells and makes it easy to rinse them off before taking them home.
- If bending over is difficult, a long-handled net or scoop works for picking up small piles without stooping.
SheBuysTravel Tip: If you’re flying to your destination, buy inexpensive pails at a local dollar store once you arrive.
Let us inspire your travels! Sign up for our newsletter now.
Think of Seashells as RVs for Sea Critters
It’s really important to explain to kids that seashells are tiny homes for all kinds of living creatures. Most of the shells you’ll find washed up on a beach are the hard casings of mollusks like clams, oysters and mussels. Beaches usually prohibit removing living creatures and may even post signs about endangered species in the area. Places like the Cabrillo National Monument tide pools in San Diego stress the “no touch” rule.
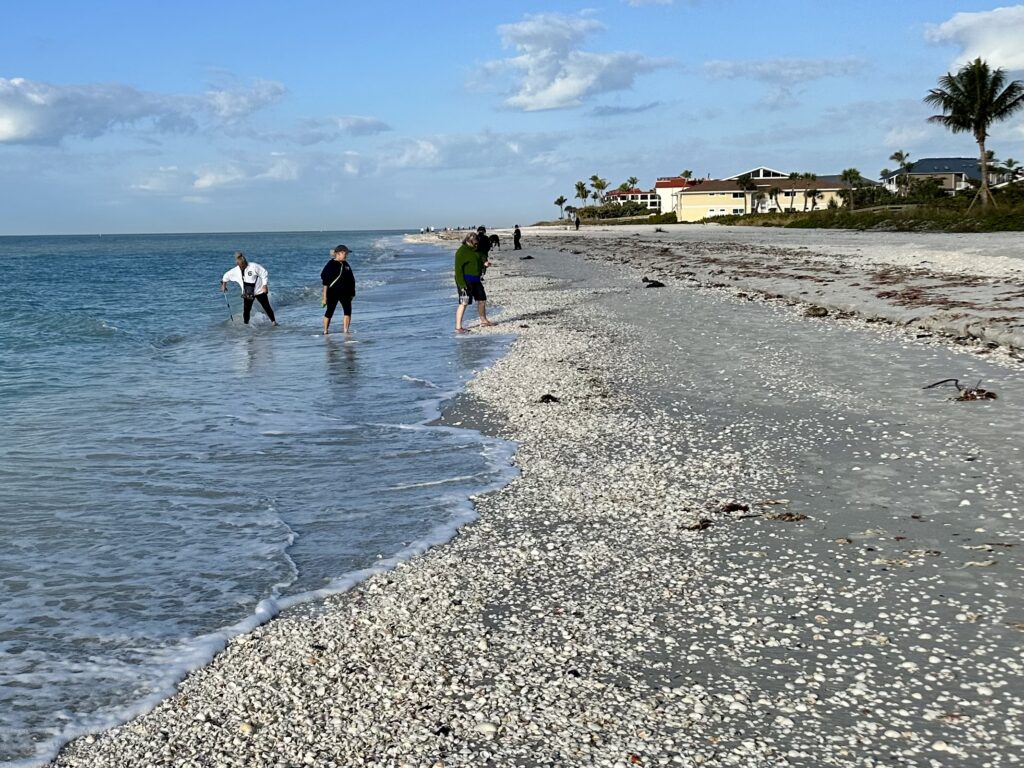
How can you tell if you’ve found a live seashell? Get up close and touch them…gently. If there’s any sign of movement, chances are you’ve found a live shell and there’s something still using the shell as home. I watched Sanibel Island beachcombers carefully examine shells and gently return live ones to the Gulf before the sea birds found them.
SheBuysTravel Tip: With sand dollars, if they’re gray in color and turn your fingers yellow when you touch them, they are alive.
Step by Step: How to Clean Seashells
Once you have collected the perfect seashells to take home, you will want to give them a good cleaning ASAP. You may notice a kind of flaky skin on the outside of your seashells. This outer covering, which resembles a peeling sunburn, is known as the periostracum. Removing this covering is the first step to cleaning shells.
1. Remove Seashell Odor by Soaking in a Bleach Solution
Using a shallow plastic container, spread out your seashells submerged in a solution that is half bleach and half water. I have found that at least two hours is a good rule of thumb for soaking. However, it’s best to keep an eye on them and remove the shells as soon as the periostracum is gone.
SheBuysTravel Tip: I’ve seen muriatic acid recommended to clean seashells, but it’s a harsh chemical that I avoid using.
2. Rinse and Repeat
Then, rinse the seashells in cold, clean water and soak them for another couple of hours in fresh water.
3. Dry and Scrape
Next, spread your seashells out on a towel and let them dry. This is a good time to remove any barnacles or sea bits or animal tissue with an old toothbrush. Scrub gently.
4. Make Seashells Shiny
The final step is to polish your shells. Rub them with baby oil or mineral oil for a shiny finish. Or go all out and paint them with a coat of clear nail polish for real shine.
Alternatively, you may prefer your conch and clam shells to keep their natural look and color. In that case, you’re done!
What NOT to Do With Seashells
- Don’t forget your seashells. Leaving them outside is a great idea for drying. Choose a location out of direct sunlight. And remember to bring them back inside. Left out too long and they’ll become brittle.
- If you’re worried about bleaching out richly colored seashells, use a dish detergent like Dawn instead of bleach.
- Delicate sand dollars are best preserved by drying in the sun without soaking.
How to Display Your Seashells
Once you’re home, you’ll need to find a way to display your beautiful shells. If you don’t get to it right away, chances are you’ll find them in an old Ziploc bag one day when you’re cleaning out your hall closet (says the voice of experience).
Fill a Glass Container
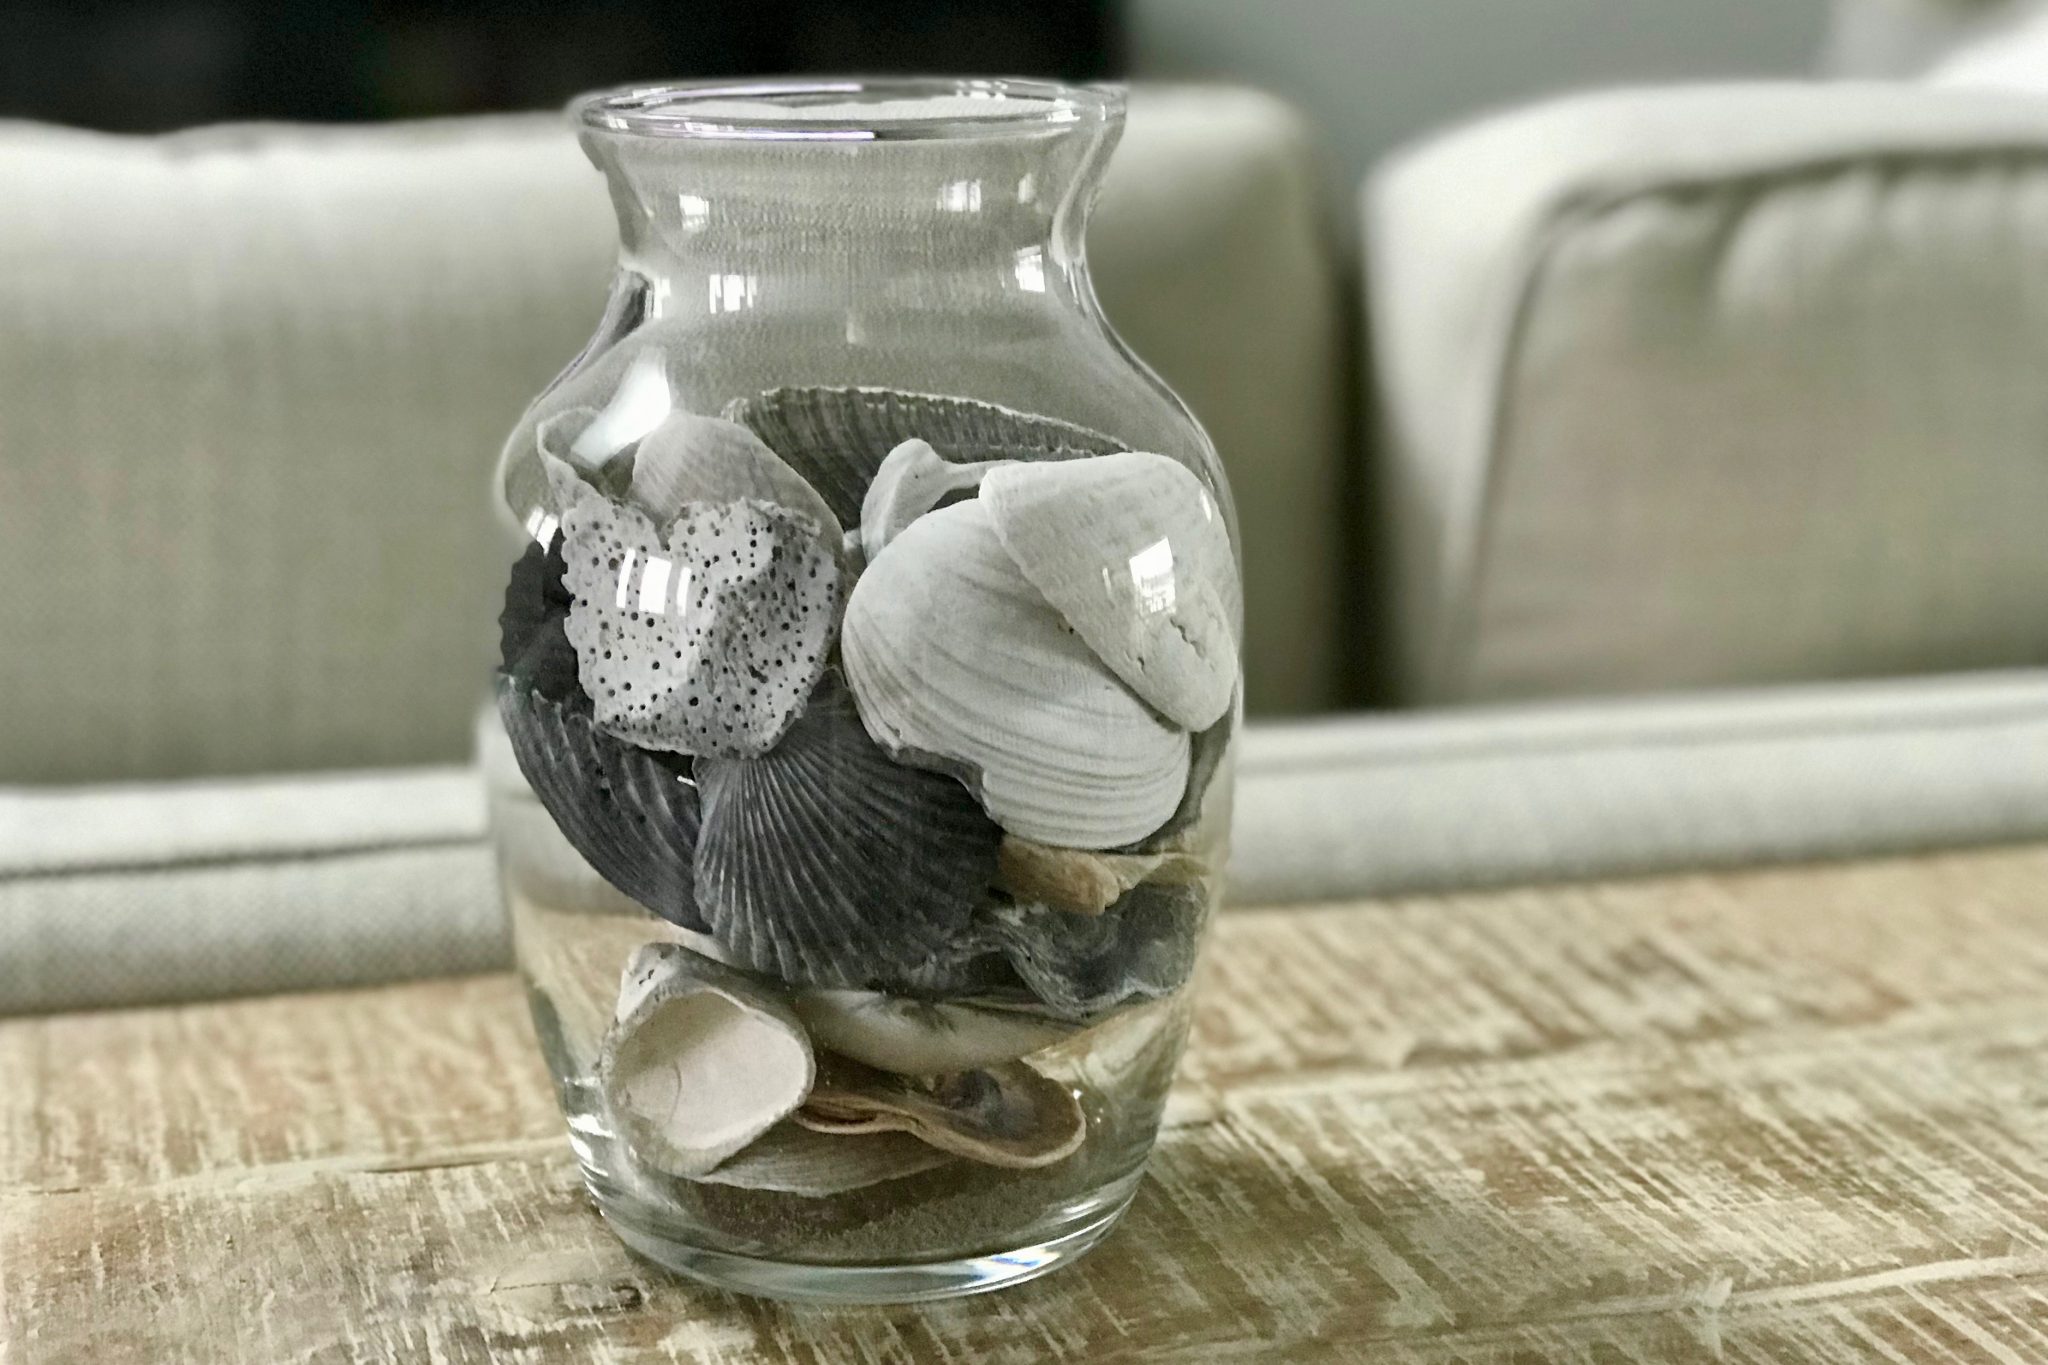
If you are craft-challenged like me, the easiest way to display your seashells is to purchase a beautiful, clear glass bowl or vase. Fill it with your seashells and display it on a dining or console table.
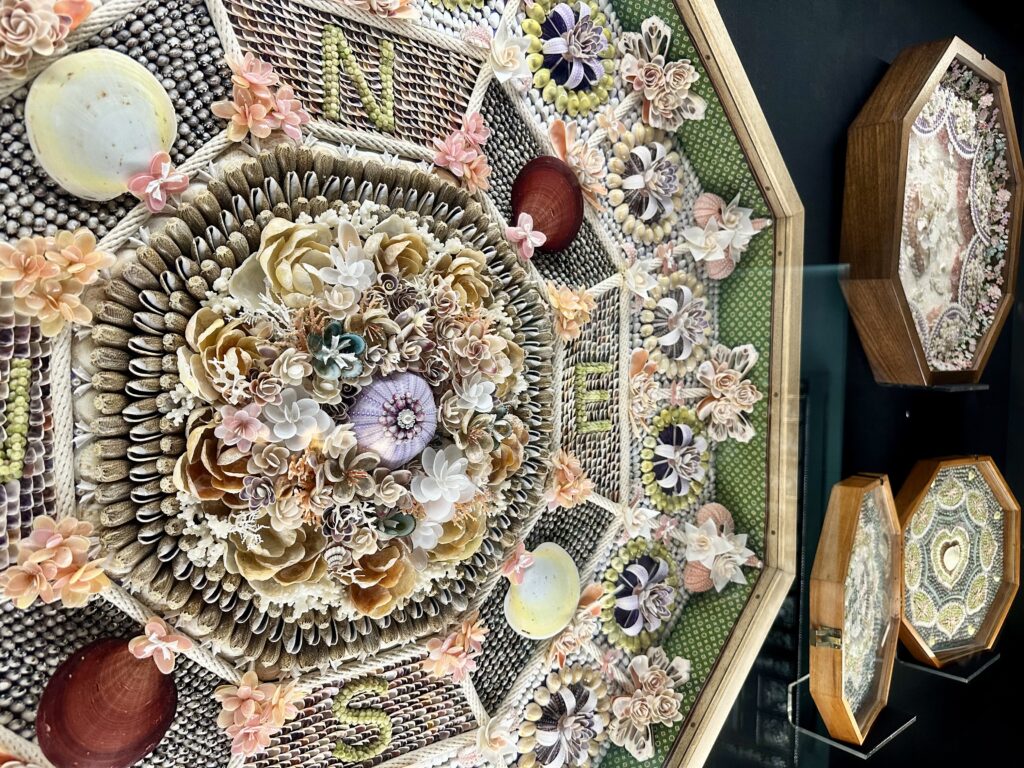
Make a Seashell Frame
Grab that hot glue gun and a simple picture frame and get busy! This is the perfect way to display small, delicate seashells. And you end up with a frame for your favorite family beach photo.
How to Clean Seashells FAQ
Rinse off loose sand before soaking in a diluted bleach or dishwasher detergent solution. This removes most odors. After gently removing any remaining debris, rinse shells in fresh water and set out to dry in a location out of direct sunlight.
Gently touch the shell and look for movement. If you see or feel anything moving inside, it’s likely still housing a live mollusk and should be returned to the water. Always follow posted beach rules and leave living creatures in their natural habitat.
When drying, keep shells out of direct sunlight to prevent brittleness. Bring them indoors once dry and store them in a cool, dry place.
Leave a Reply